Keep in mind that you rarely (if ever) have to modify your DNS zones, since WHM does that for you automatically. You should only attempt to modify DNS zones if you know exactly what you are doing. Follow along as we demonstrate how to manage DNS Zones within your WebHost Manger (WHM). Watch the video tutorial on this : Managing DNS Zones in WHM
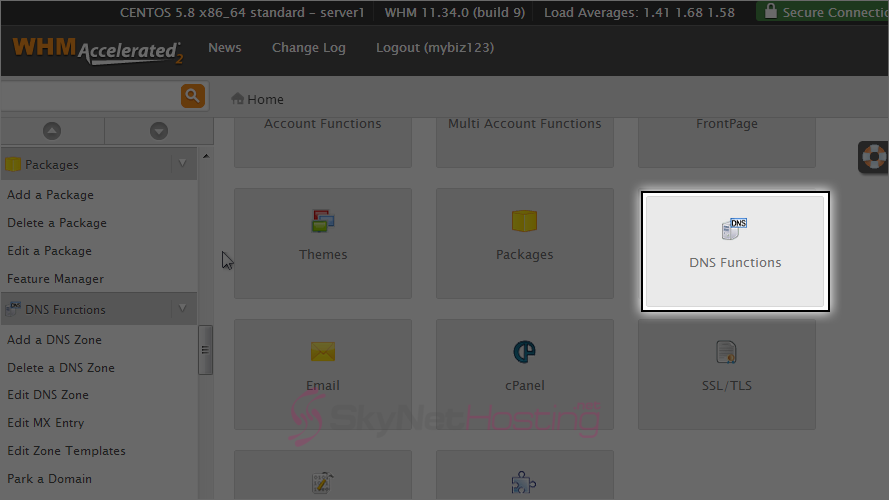
- Click the DNS functions link after login into WHM.
- Click the add a DNS zone link.
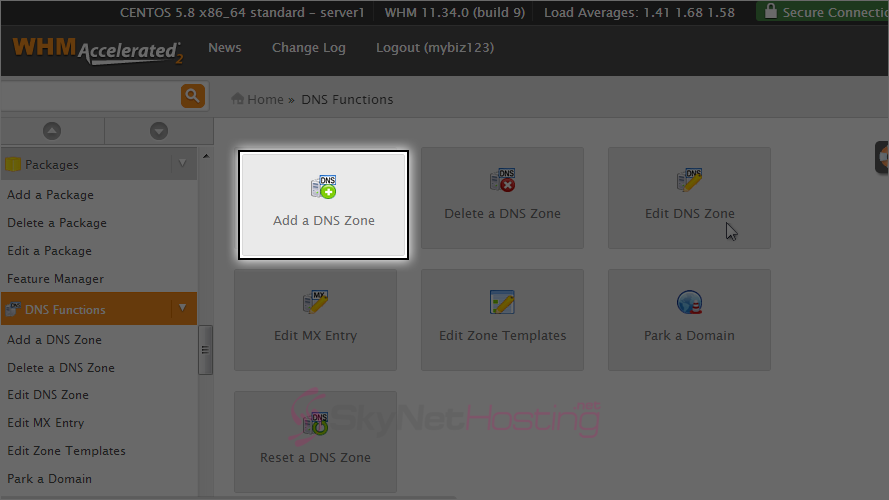
- This is the screen where you can add new DNS zones, but we’re not going to do that in this tutorial. Click the delete a DNS zone link.
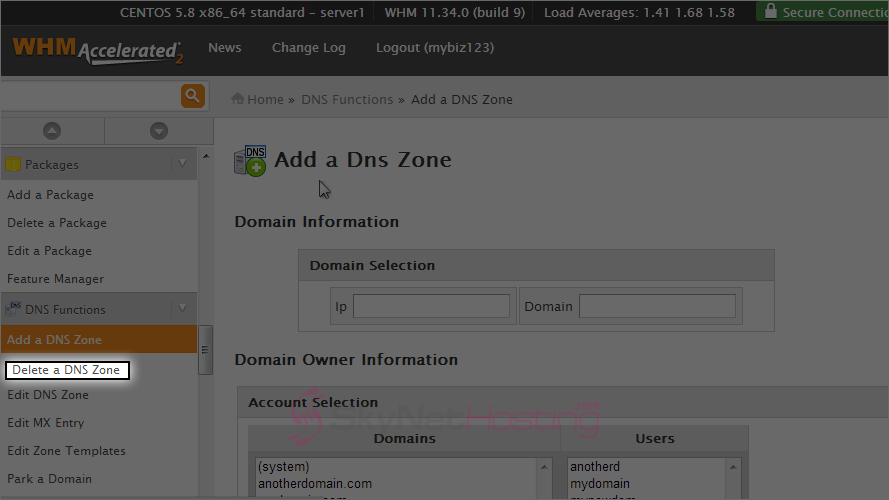
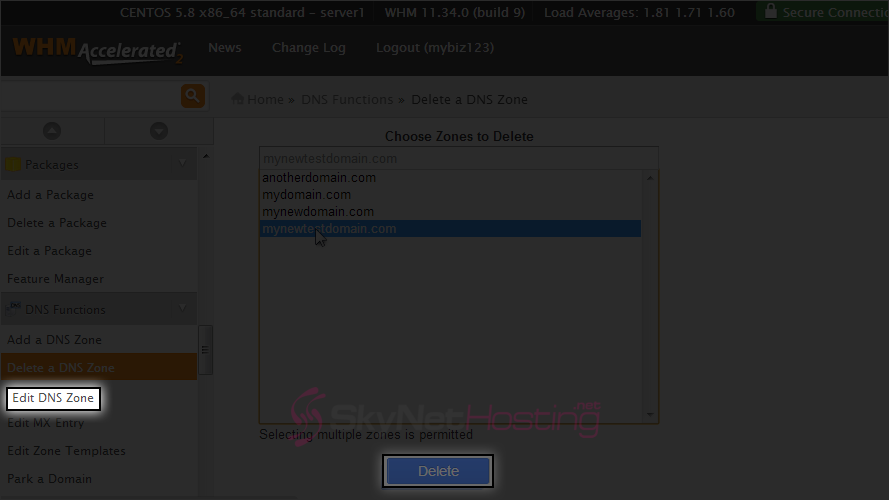
- This is the screen where you can delete DNS zones together. To delete the DNS zone for mynewtestdomain.com, select that account here.
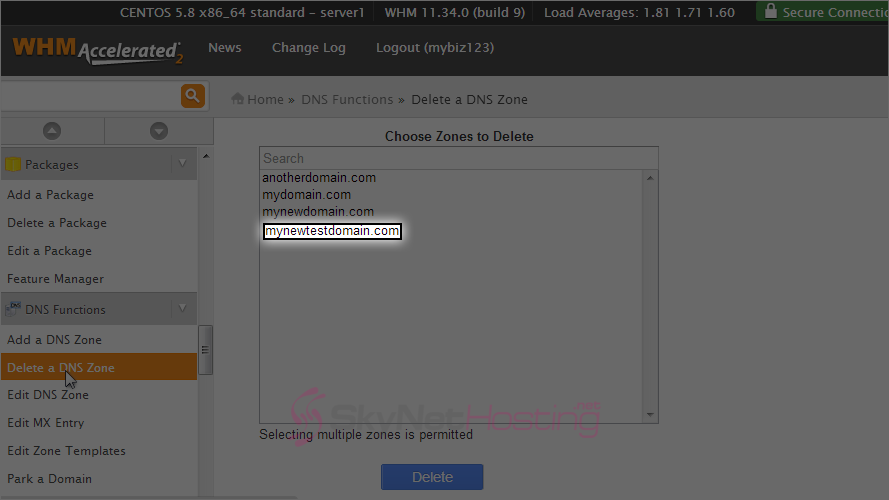
- Then we would click this delete button, but we’re not going to do this, as it would render the account useless. Now click the Edit DNS Zone link.
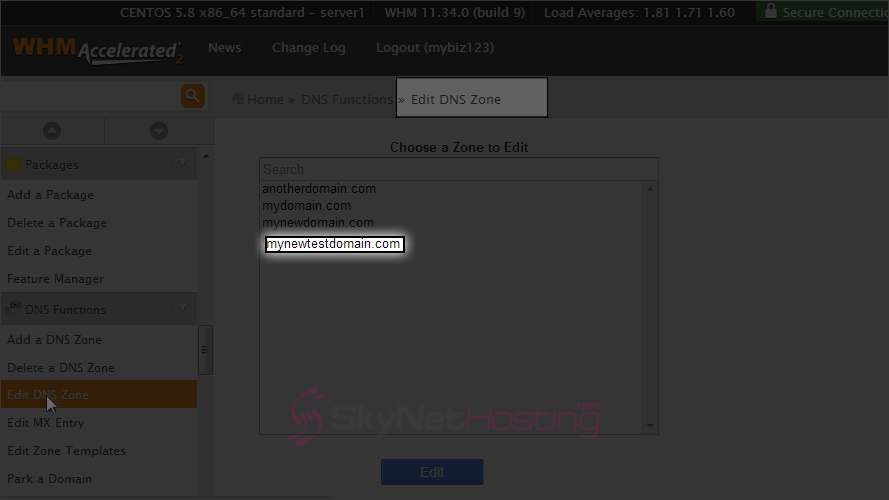
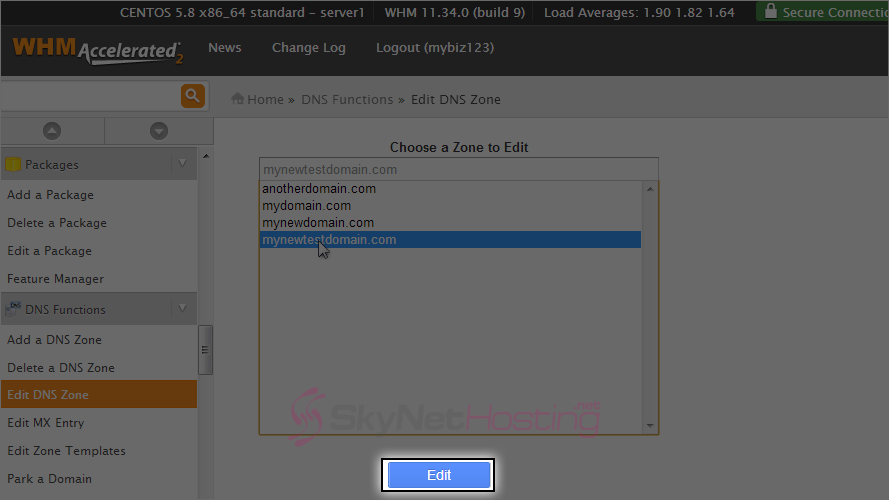
- We are now in the edit DNS zone screen. Select mynewtestdomain.com.
- Then click Edit.
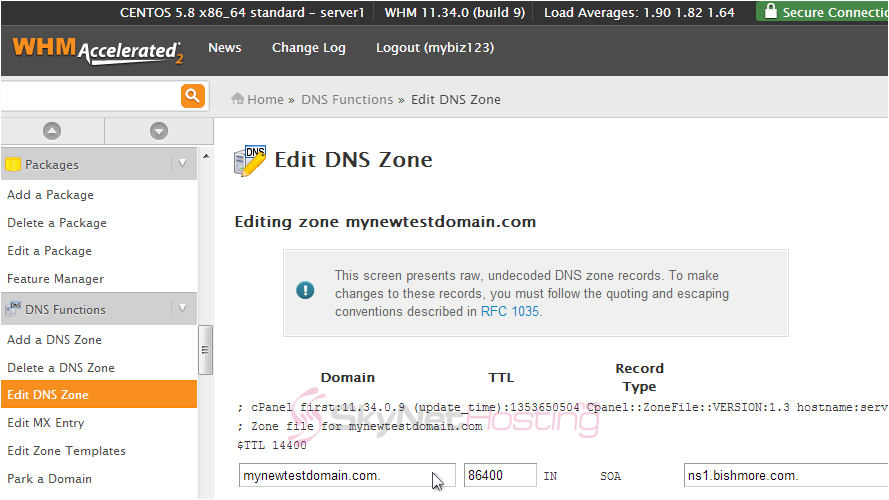
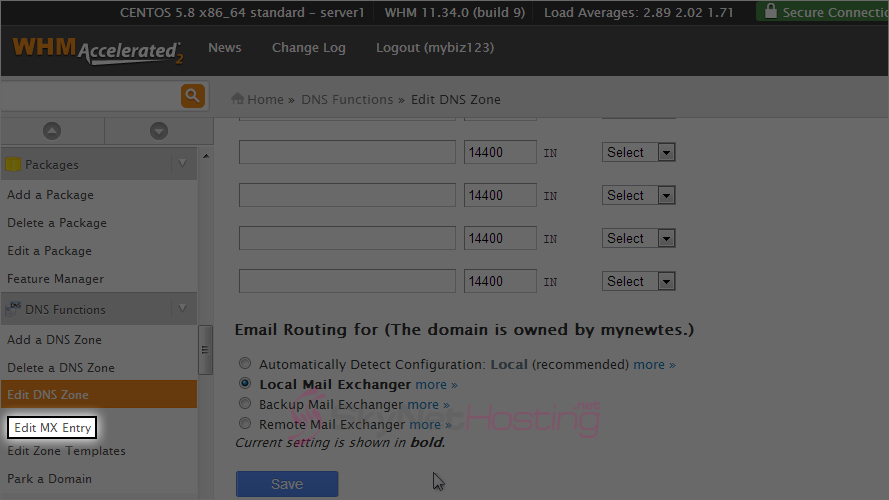
- This is where you can Edit the DNS Zone Properties of the mynewtestdomain.com account. All of these zone properties (or zone records) can be modified from here. But again, do not change anything unless you know exactly what you are doing.
- Click the Edit MX entry link.
- Select mynewtestdomain.com.
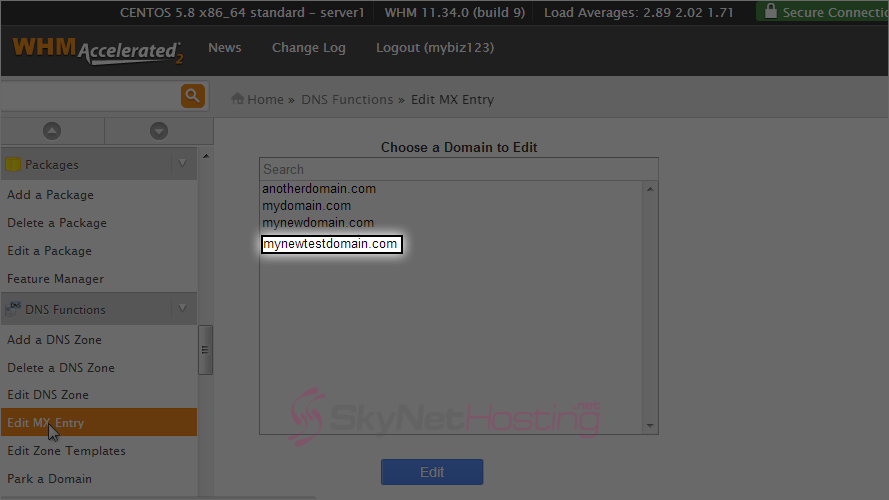
- Then click Edit.
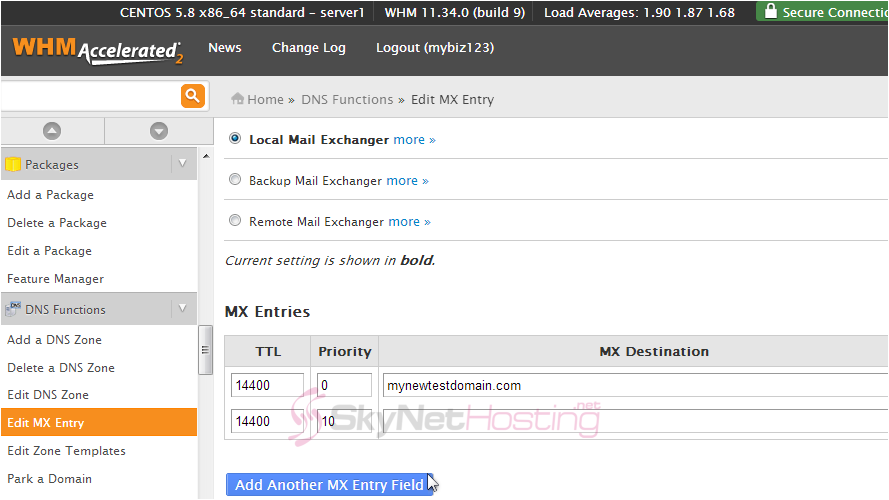
- This is where you can specify a custom MX entry. You may want to do this for customers who want their email hosted elsewhere on another server. In those cases, you would enter the other server’s IP address here and click save.
Managing DNS Zones in WHM
This is the end of the tutorial. You now know how to manage DNS zones in WHM. Remember that WHM automaticaly manages DNS zones for you, so you should rarely have to do it manually.