The Skeleton directory in WHM, allows you to change the default files used when creating new accounts. For example, if you have an index.html file in the skeleton directly, every time you create a new account, this file will get copied to the new account until a new home page is uploaded to the account.
This article and video tutorial: Learning about the skeleton directory WHM is created to explain about the above directory, so follow along!
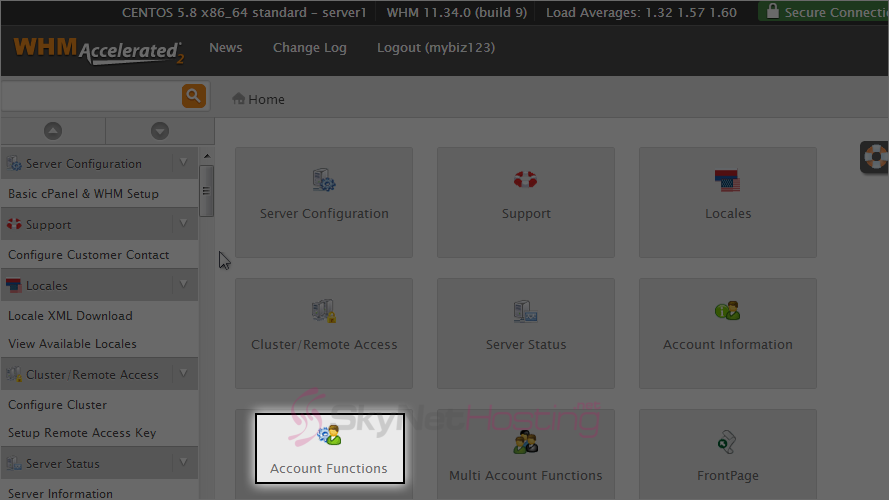
- After you are logged into WHM, click the Account Functions link.
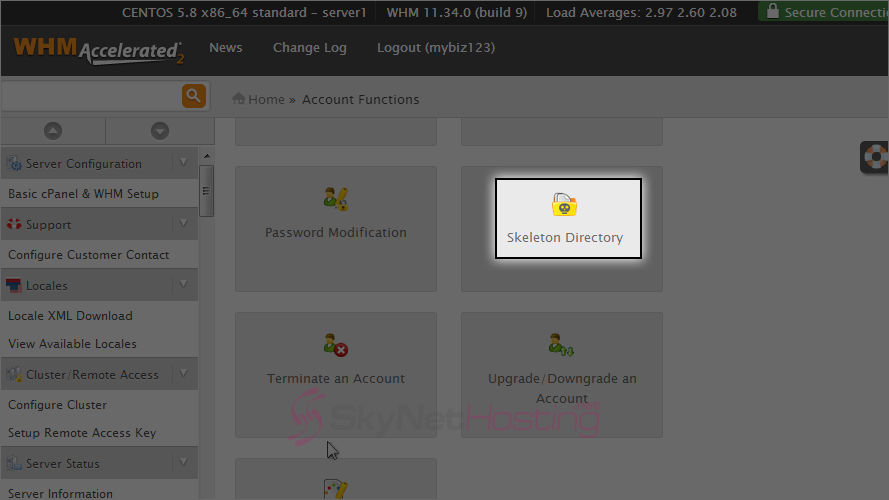
- Scroll down a little bit and click on Skeleton Directory.
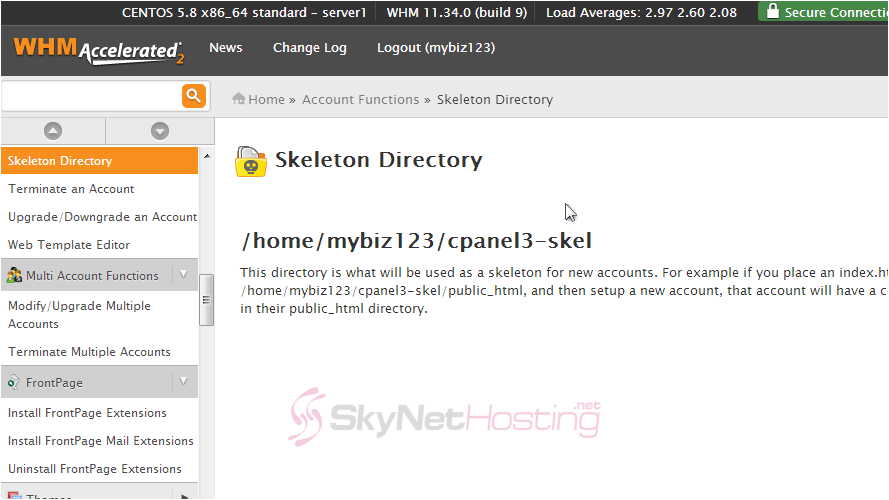
- In this tutorial, the reseller’s account’s main username is mybiz123, so that’s where the skeleton directory is located as shown here. To change the temporary (or default) home page, simply upload a new page to the cpanel3-skel directory in the location shown above, using either an FTP program or the file manager tool in your main account’s cPanel.
Learning about the skeleton directory WHM
This is the end of the tutorial. You now know how to view the skeleton directory in WHM.