You are free to use a different mail server but still host your website with SkyNetHosting.Net. This can be obtained by changing your MX records. Making changes to your MX records will still allow you to host your website with us, but your email at a third party server.
This tutorial covers each step of adding a MX entry with images. Checkout the video tutorial on Getting familiar with cPanel – Adding a MX entry to summarize what you learned in detail.
Add a MX Entry in cPanel.
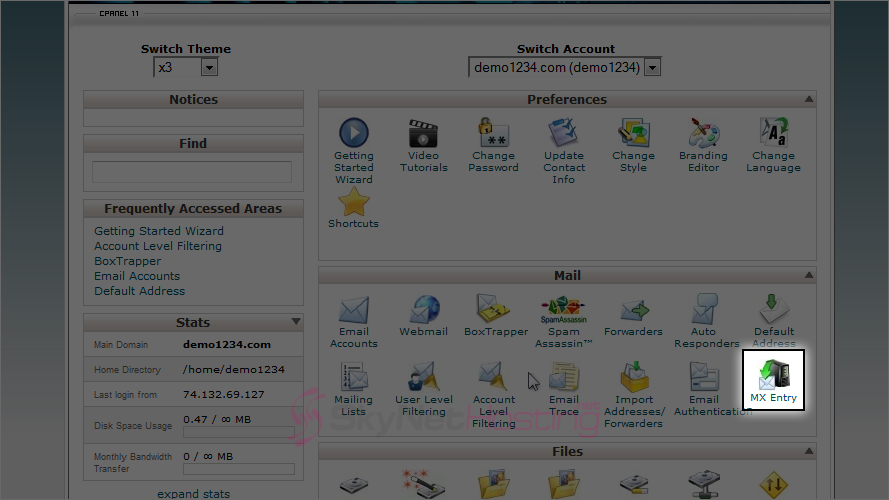
- The first step is to log into your cPanel account. Once logged into cPanel, find the icon “Mx Entry” in the Mail section.
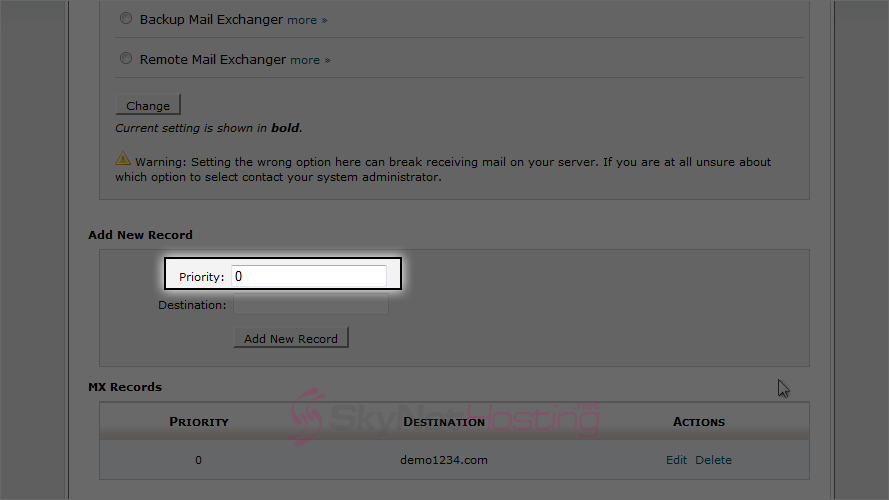
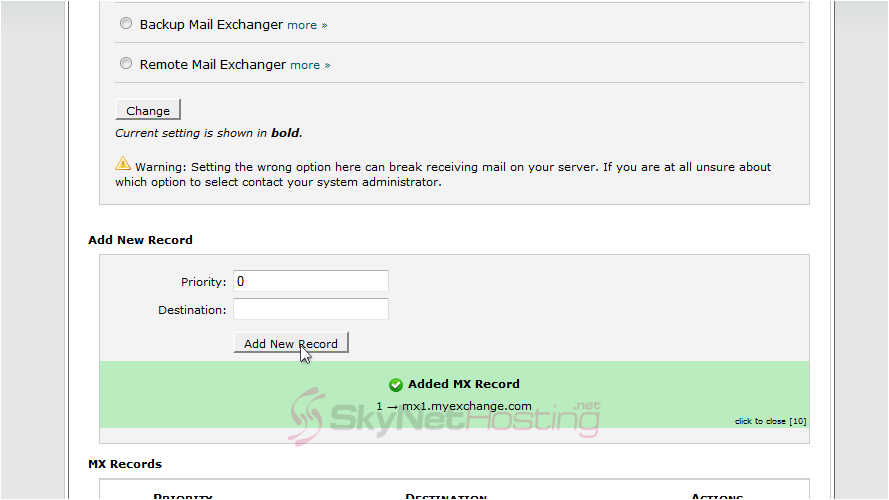
- Enter a priority number for the new MX record: the lower priority numbers will be tried first, followed by higher numbers.
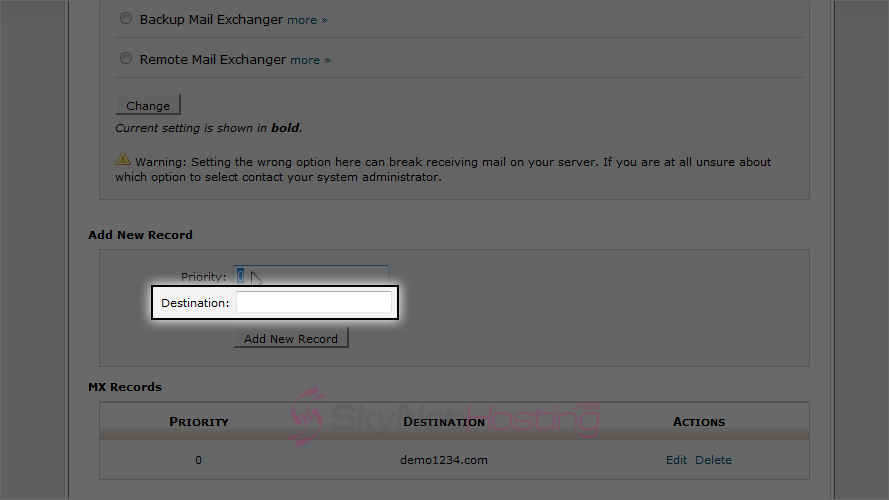
- Then enter the new MX entry.
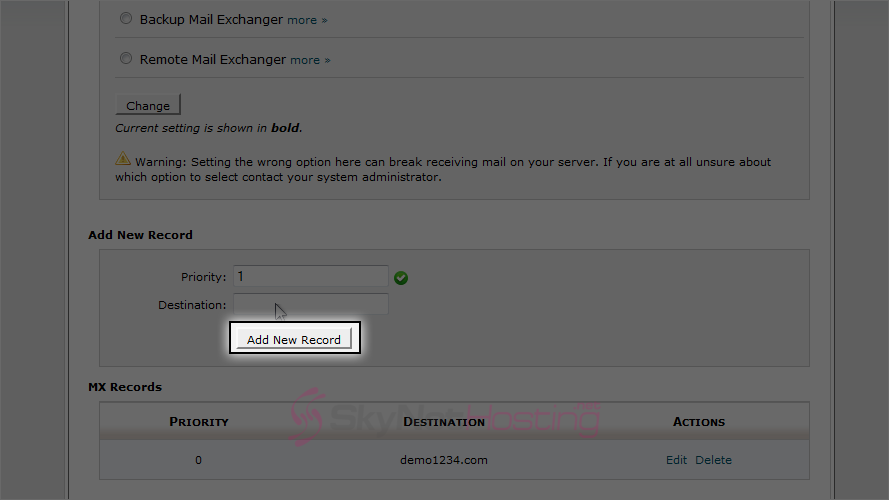
- Click on Add New Record button.
- Below screen will appear when an entry is added successfully.
So in this case, the default demo1234.com mail server will be tried first because it has a priority of zero… followed by the new mail server mx1.myexchange.com, because it’s priority value is set to 1.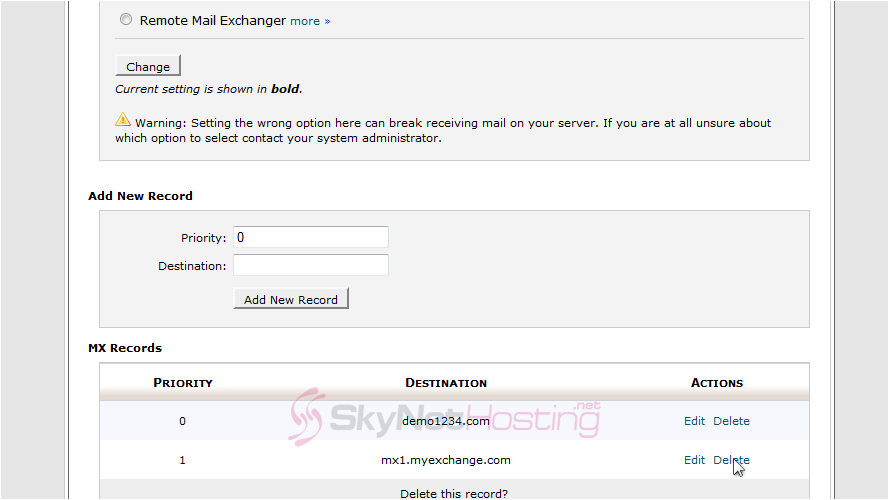
- You can return to this page at any time to make changes to your MX entries and their priorities: Edit or Delete.

We deleted the MX entry we just entered previously.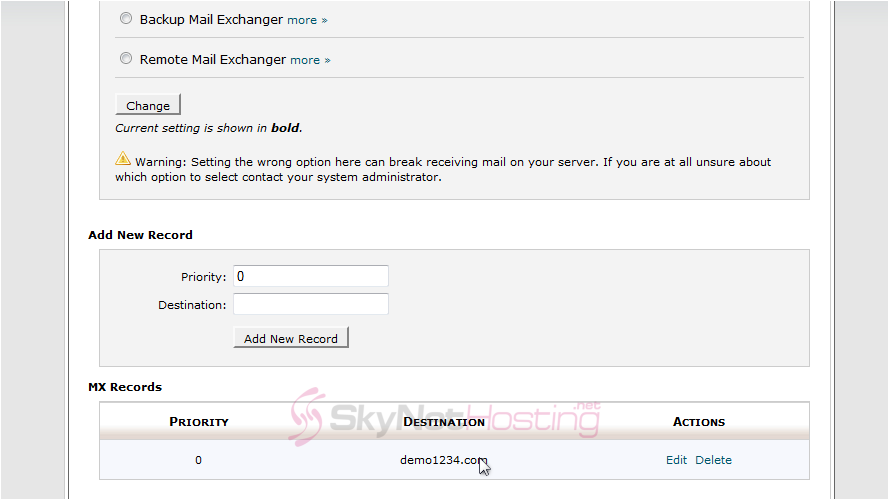
How to add a MX entry in cPanel.
We’ve come to the end of this tutorial on settingup custom MX entries in cPanel. Please note that after you have defined the MX entry, the DNS takes nearly 48 hours to propagate; so patience is important. Learn more about Mail configurations of cPanel